THE FOLLOWING INFORMATION IS JUST A CRASH COURSE!
Belaying
SETUP
- STEP 1: Read and understand the manufacturer's instructions for your belay device. Make sure you understand how to orient the device with regard to your harness and your partner.
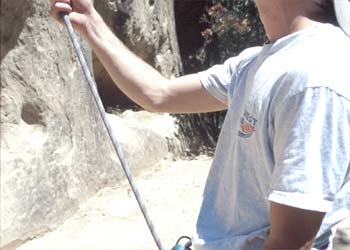 |
Step 2: If you are top roping, pull all the slack out of the rope until it comes tight against the knot tied to your partner's harness. |
- STEP 3: If you are going to belay a leader, grab the slack below his or her tie-in knot.
- STEP 4: Fold the rope in half to create a "bight," or loop in the rope.
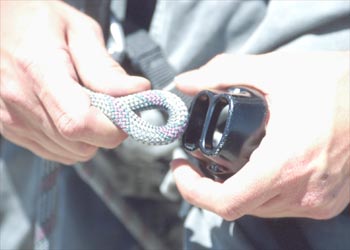 |
Step 5: Force the point of the bight through the hole of the belay device appropriate to the diameter of rope that you are using |
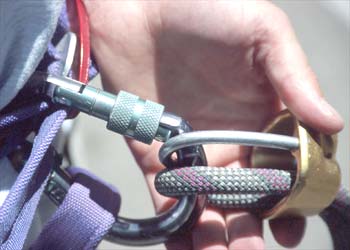 |
Step 6: Clip the loop of rope you just pushed through the belay device with your biggest locking carabiner and attach that locking carabiner to the belay loop on your harness. Make sure not to put an inconvenient twist in the rope as you clip it to your harness. |
- STEP 7: Check your belay setup and tell your partner that you are "on belay."
Top Rope Belaying [Note: this is the most common type of belay used, you probably wont use any other type on on beginner climbs]
- STEP 1: If you are belaying for a top rope climb, pull in slack through the belay device as your partner climbs. You have two hands: a guide hand, which is on the same side of the belay device as your partner, and a brake hand, which is on the opposite side of the belay device (in relation to the rope) from your partner. Your brake hand must never let go of the rope. Your partner's life depends on it.
- STEP 2: Pull the slack in with your guide hand and pull it through the belay device with your brake hand until your brake hand is less than an arm's length away from your belay device.
- STEP 3: Slide your guide hand back up the rope until it is further away from the belay device than your brake hand.
- STEP 4: Bring your brake and guide hands together.
- STEP 5: Pinch the rope with your guide hand above your brake hand.
- STEP 6: Slide your brake hand down the rope to the belay device. All this is done without physically letting go of the rope with your brake hand, even for an instant.
-
- STEP 7: Repeat until your partner has completed the climb.
- STEP 8: In the event of a fall, pull your brake hand down to your thigh to lock off the belay device, and hold it there until your partner gives you instructions. It requires little strength to hold a fall, because the belay device causes lots of friction to minimize the force your brake hand feels, but you must still control the rope. If you're not holding on with the brake hand, the rope will fly through the belay device and your partner will fall and get hurt.
Branham High School Advanced Computer Class |
Last Updated 01/22/2007 |
Managed by: Hannah Flens |
|